Showing posts with label Upcycling. Show all posts

21 July, 2010

a complete accident

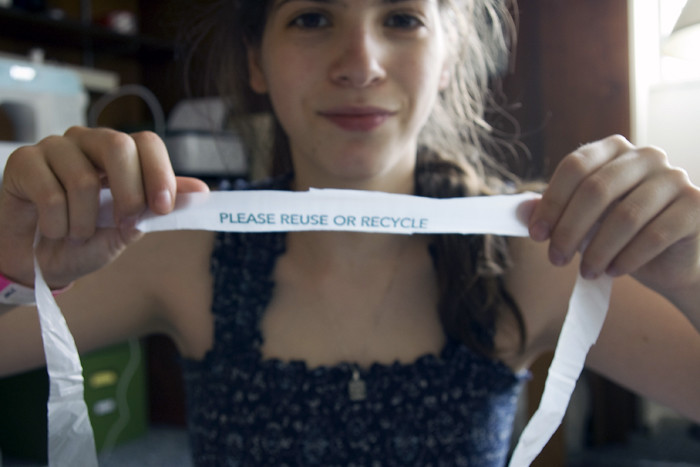
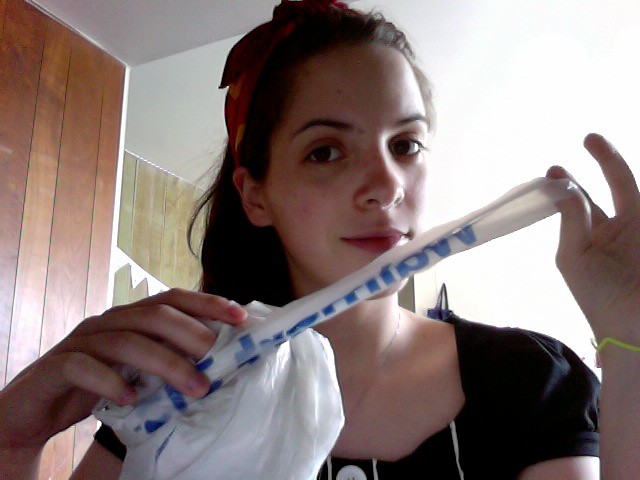
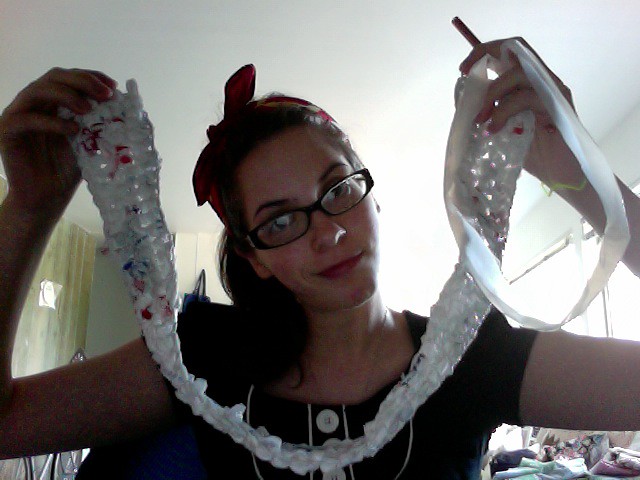
I was cutting up some more plarn on Sunday and this is what happens!


It was a complete accident, but I'm glad that it fits so perfectly. I am reusing, and it's being upcycled into a rug. How awesome.

By the way, don't mind the messy hair. Just another humid day. Herumph.

<3 Jenni

13 July, 2010

Another one of those days

I had some errands to run today, which forced me to go outside in the uncomfortably warm weather. The sky had a threatening going-to-rain-look on its face, but I went anyways. I wanted to get these tasks out of the way before I have company over tomorrow.

This is what I saw & experienced while accomplishing my duties.

A cat in the garden with its owner - acting like a dog (the cat. not the owner).
Street construction that seems to never end.
The postman chuckling at what I wrote and drew on the parcel. He covered one of the eyes of the monster I drew on the side of the box with tape. I was slightly distraught.
A bicycle that was altered to be really really tall, like a penny-farthing.
An outrageous price of $41.31 for a record that is by a band from the Czech Republic. Apparently the president of that country was in that band.
A public transit bus that was really really close to running over me when I had the right of way to cross.
Said threatening sky worsens its look just before I arrived to the apartment.

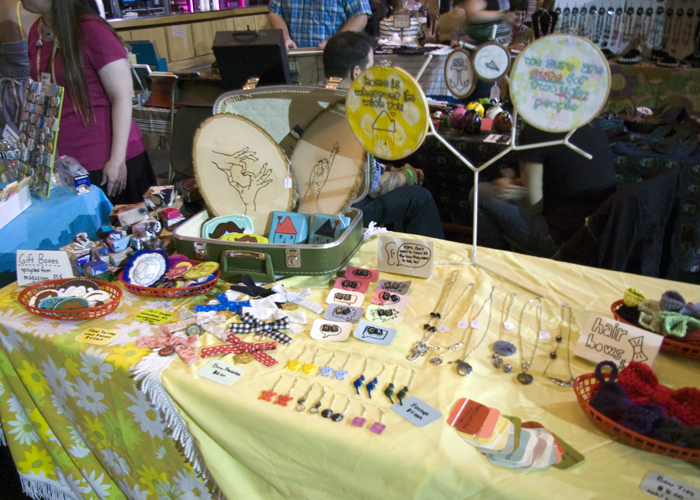
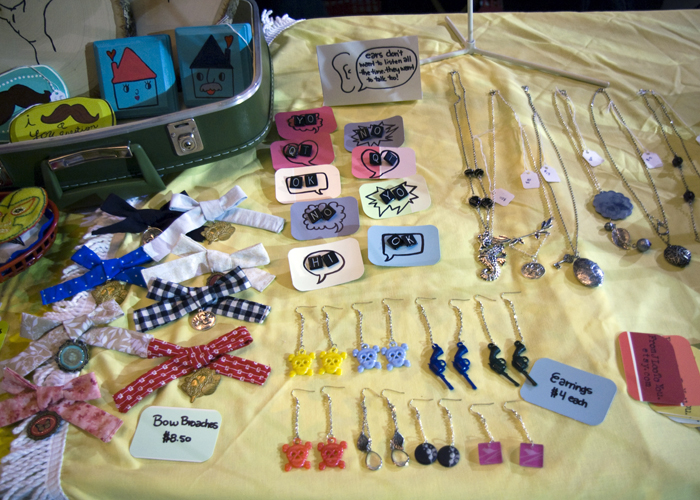
Oh, and by the way... The Baar Bazaar was a lot of fun! It was a very successful night for me. I won't share how much I've sold & made, but let's just say I have a lot of stock to replenish.


Sorry for the crummy out of focus-ness. It was pretty dark inside & difficult to get a good shot.


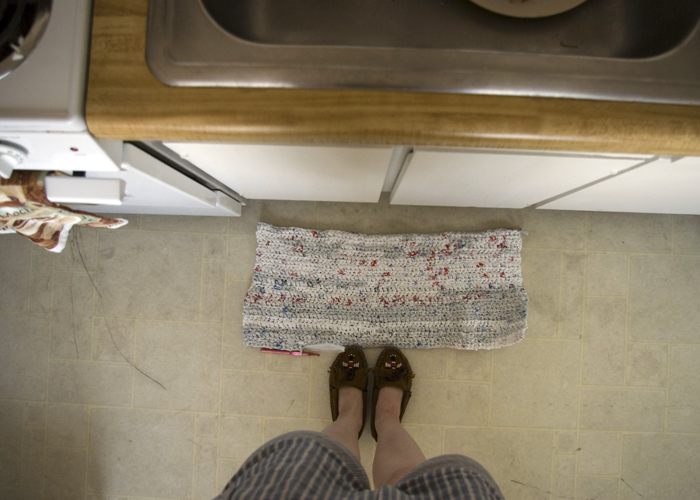
I saw a couple of friends there, which was really surprising. And I managed to crochet some more with my plarn rug project. It's still growing!


Don't mind the dirty floor. It was born that way.

<3 Jenni Loo

10 July, 2010

Hey Hey, Craft Saturday!

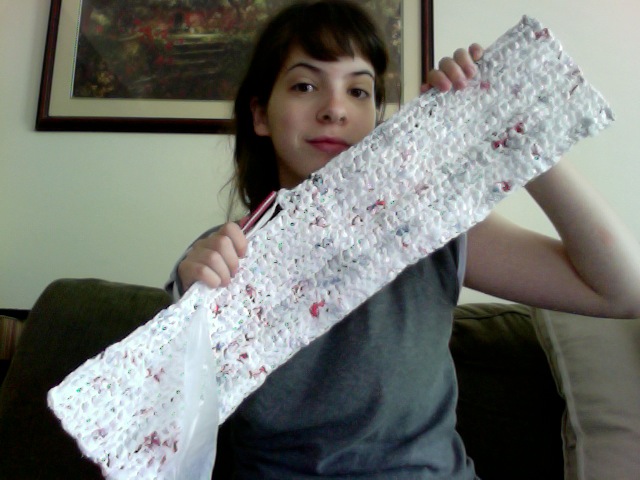
I thought I would do a little update on how the whole plarn crocheting project is going. Or should I say growing?

Since my last post about this project I had to stop because I ran out of bags, but this past weekend I took the train to visit my good ole photo buddy Nicole in Kalamazoo. That's where I celebrated Independence Day and I had a lot of fun playing games, going to a festival, and swimming, but not so much the sweating. It was really hot and humid. I like the heat, and I can handle it, but I sure hate sweating. Anywho, I managed to get some plastic bags from her collection and added more to my project.


I only managed to add a few more rows. This project seemed to inspire Nicole to start working with plarn. Either crochet with it, or use it to tease her cats.

Now I'm at my parents for this weekend and I took more bags to add to the ever growing project.

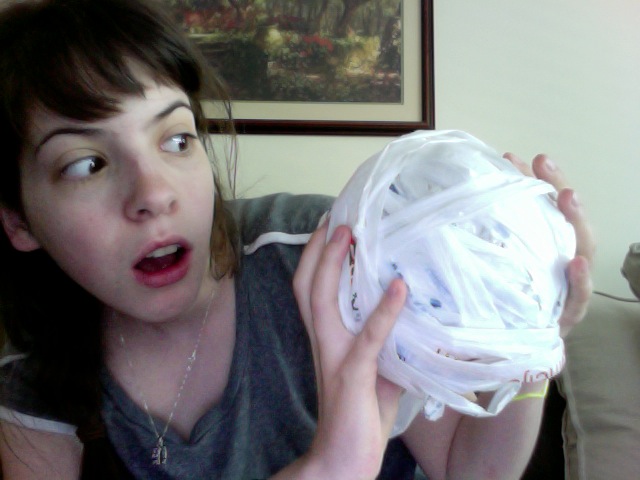
Maybe it's hard to determine the scale, but it is big as my head. Or more like the size of a medium sized cantaloupe. This bag is full of at least twenty-five plastic grocery sacks. I didn't count when I pulled a giant handful out of the pile my parents' hold. My sister helped me out with flattening them. Which was a huge time saver. It felt like forever and a half to cut up the bags and connect them together.

I think I'll bring it with me when I vend tonight at the Baar Bazaar. I feel incredibly lame for not advertising it that much, but that's where I'll be! It's a smaller event with 36 vendors and it's at a music venue/bar in Detroit! I'm told that people are more inclined to buy after midnight while intoxicated. Hm, we'll see! Cross your fingers for me!


Also, if you're in the Mitten area, there's another craft event happening in Yspilanti. If I weren't busy finishing up last minute treasures and organizing everything I would go to this show before I left for mine.


<3 Jenni

30 June, 2010

So what do I do?

Tomorrow will mark my first full week of being on my own. I'm surprised that I'm doing okay thus far. I will admit last Friday I did have an entirely weird feeling that over took me and it did make me want to be home with my family. It wasn't being homesick, it was just that I didn't feel like that I belong in Ann Arbor. Which is weird considering I work here and I've been here almost every weekend for the past two years. It went away the following Saturday when I went to work and felt like I had a satisfying + purposeful day.

I haven't obtained a second job yet, but I'm still holding my hopes up for an eclectic shop called Acme. I've even talked with people at the museum I work at. I'm sure that if I can't find a job elsewhere, the museum will give me even more hours outside of my weekend position. In between waiting for calls from potential employers I ride Ole Clementine everywhere, cook homemade healthy meals for myself, and craft.

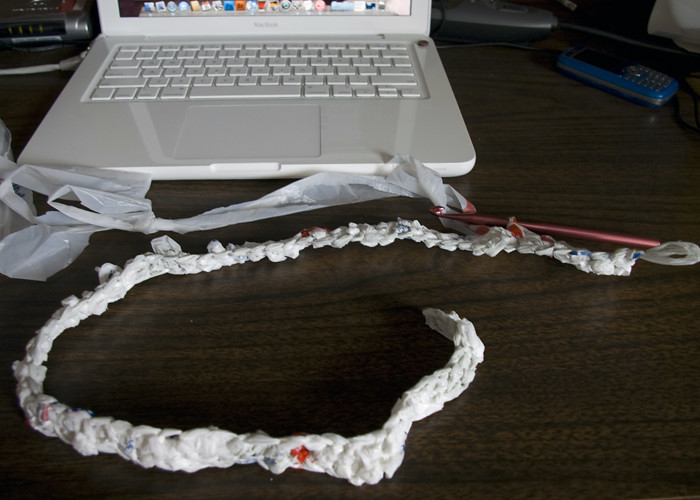
I have been sewing but my sewing machine was being a bully today, so I decided to take a break from it and tackle a project that I've been meaning to start. I have been crocheting with.....Plarn! Plastic yarn made out of plastic grocery bags.


I made a grapefruit sized ball of plarn with 15 bags or so. I sort of lost count as I was cutting the bags into pieces. Like I mentioned, I've been wanting to try this project out, but what does one do with all that plarn? Well, how about a plarn rug for the kitchen that can sit in front of the sink? Perfect, I say!


So I stitched 55 chains, and double crocheted four rows before I ran out of plarn. Sigh. Now it has to be put on hold until some friends or my family visits me and brings me more grocery sacks. It's not hard at all to make plarn, and there's even a video tutorial to show you how to make it.


I posted this video back in October when I first started learning how to crochet. It's easy to make the plarn, but actually crocheting it is a little tricky. USE A BIG CROCHET NEEDLE. I only have two and I managed okay with my size K needle.

Are there any new projects you plan to take on or already started? Do you think you would try the plarn route?

<3 J.Loo

30 April, 2010

How To Make a Pennant Banner w/ Scrap Fabric (or Paper!)

So lately I've been getting a little tiresome of the fabric in my collection. Some of it is just uninspiring and some I know I bought on inpulse. Plus the scraps are starting to take over. I'm not a quilter yet, so I had to figure out what I'm going to do with it all! I thought that I needed some sort of decoration or some signage for my table for when I vend at the craft fair this Saturday, so I thought maybe a pennant banner/bunting!

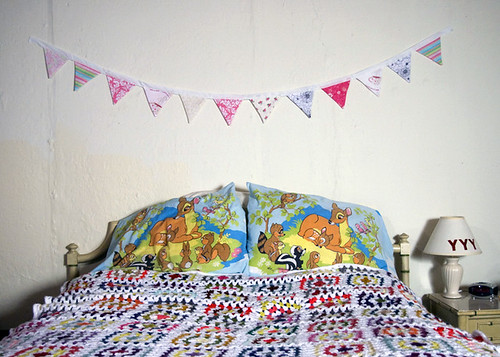
It was a very quick project and I figured out how to assemble it as I went. I'm sure there are tutorials out there to show you how to make one, but I thought I might as well make one as well. I made my banner with scrap fabric I bought and I even upcycled some fabric from a vintage pillowcase. Well, here it is! I hope you find it comprehensible to read and make. If you have any questions or want to share your success with me, please feel free to email me!

(Also, I'm sorry that this is later than I said/planned. I've been preparing everyday for this craft fair. I've been staying up until 3 a.m. every night! This craft fair is a pretty deal for me.)


How To Make A Pennant Banner w/ Scrap Fabric


Supplies:

Scrap fabric
Pennant template
Thread
Packet of bias tape (I actually used a wide band of fabric I took off of an old pillowcase. I cut it in half length-wise and sewed the long thin strips together [it was already folded for me] and it measured to be [folded] 1" wide x 82" long.)
Sewing machine
Scissors - one large pair and one small pair (for the small I used my embroidery scissors)
Straight pins
Chopstick or pencil
Hot iron

Estimated amount of time for project:

1 - 1.5 hours

Step One:

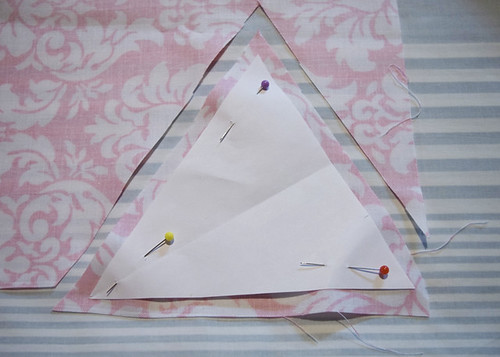
Download the pennant template that I have provided or make your own if you wish. Pin triangle shape to your scrap fabric and cut two pieces (of the same or contrasting fabrics) for each pennant. My triangle template does not include a seam allowance, so make sure to cut at least 1/2" seams.


You can cut and sew as you go or you can cut out all of your pennant pieces first and then sew. It's faster to finish the project if you do the latter. I made 12 pennants, so that means 24 triangles.

Step Duex:


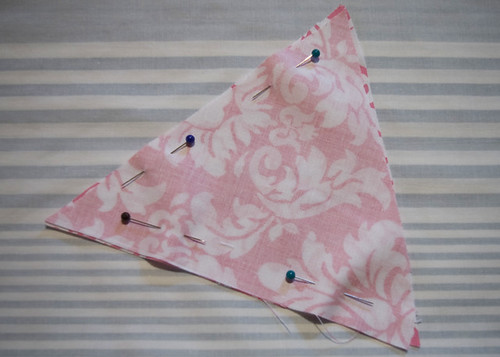
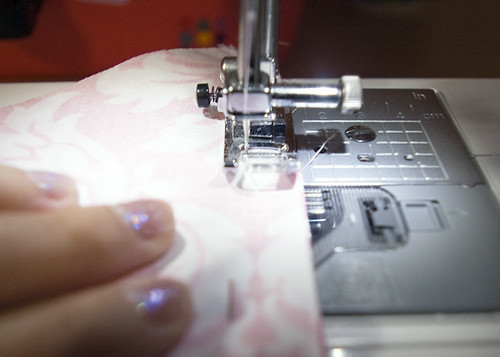
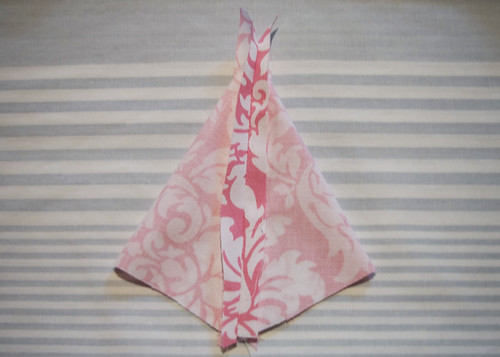
Pin fabric right sides together and then sew them suckers! Remember I cut the fabric with the 1/2" seams so either sew 1/2" or 5/8" seams on the two longest sides (a.k.a. the bottom) of the triangles. I lined up my fabric with the edge of the sewing foot for the seams for easy measure.


Step Tree:


Iron open the seams flat. Don't worry about ironing from tip to tip. You just want most of the seams ironed by the wide end (a.k.a. the top) of the pennant shape.

Step Quatre:


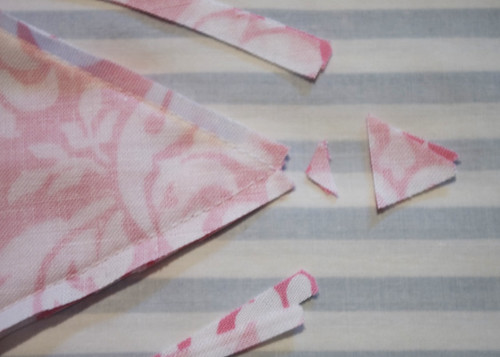
Snip the corner and then cut a triangle at the tip of the pennant. Be careful to not cut the thread! Then trim off about half of the seam allowance. This is so when the pennant is turned out it will lay nice and flat! It's very important that you iron open the seams before trimming them. I forgot to a couple times and it got a little tricky to get them to lay flat without the danger of potentially burning myself.

Step Cinco:


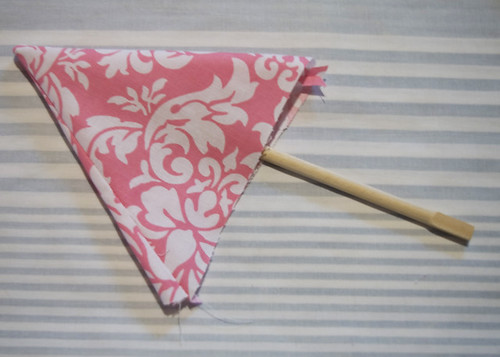
Turn pennant right sides out and use your handy chopstick (or pencil) to push the point, so then it can be extra pointy instead of bleh. Then iron pennant flat.

Step Six:


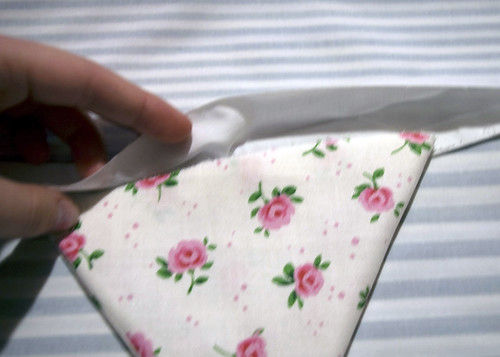
With all of your finished pennants, place them on your strip to according to how you like. I put 1" spacing between each pennant and about 2" from each end of the folded strip. Then sandwich (about 1/2" of the top) your pennants between the strip/bias tape and pin in place.

Step Sieben:

Now it's time to finish sewing! Use a straight stitch or zig zag (whichever to your liking) to attach it to the bias tape.

Step Eight:


Snip any loose threads and iron again to make all of the pennants nice and flat. Now you can hang it up anywhere!

I know that the pennant banner that I made could be used for Valentine's Day, Mother's Day, Easter, or even a birthday. Think of all the combinations you could make with your scrap fabrics. You could make a pennant banner for every occasion for cheap! Now to make a banner with paper is just like how to make it with fabric, but it takes fewer steps and it's quicker.

How to Make a Pennant Banner w/ Paper

Supplies:

Scrapbook Paper, construction paper, or whatever you have on hand
Bias tape
Scissors
Pennant Template
Thread
Sewing Machine

Step Uno:

Use the pennant template I provided (or use your own shape) and trace onto the paper of your choice and cut. You only need to cut one each, so if you have two-sided paper you can many options with fewer pieces of paper, but if it's one-sided that's fine. You don't need to cut two pieces each for each pennant, like with the fabric tutorial.

Step 2:

Arrange the triangles on the bias tape according to how you want and then sandwich in between the bias tape and pin (if it's not too thick).

Step Troi:

Zig zag stitch (at a wide stitch setting) the triangles to the bias tape and sew slow. Use an older/dull needle if you have to. Then you're done and ready to hang!


Note: Instead of sewing the paper pennants to the bias tape I'm sure you could glue or use double-sided tape. Though, I think sewing may be stronger. I'm not knowledgeable about glues and scrapbooking adhesives (well scrapbooking in general), but if anyone knows a good substitution for sewing, please let me know!

Show me pictures if you make a banner, please!

<3 J.Loo

03 December, 2009

It Sneaks Up On Ya! + Quick&Easy Tutorial

So I'm a little frazzled with the holiday season (I'm quite sure everybody is) and I've been busy working on making presents and figuring out what the heck to make for friends and family. I have a very teeny budget this year because I'm back to working one job instead of two. I've been pretty stumped as to what presents to make and I think it's because of my lack of cash flow. This is definitely the season where you have to be creative on what you make/give and how you spend your moneys.

I've scoured (What am I? A pirate?) the internet for holiday gifts and decor ideas. I think I am going to try out a few and share with you what worked what didn't, but that's for another post. Right now I'm just going to share a tutorial that I came up with last February. It's a tutorial on how to upcycle a t-shirt into a tote bag. It's a great last minute/easy gift to make. OH, and it's Earth friendly.

Note: This is the first tutorial I've ever made and I think it was successfully explained clearly. Any questions, please ask! Also, this was done at my last house, so there is some awesome green bedroomness going on and old hairdonessisty.Just sew you know!

How To Make A Tote Bag Out Of A T-shirt

Okay, so when I made this is a tutorial it was specifically for Mrs. Koko Louise, but anyone can use this information to upcycle a tee into a cute tote bag. Use an old favourite tee that doesn’t fit you or if you’re a musician tryin’ to get rid of some of tees that just didn’t sell. *cough* Koko *cough* shoot, go to a second hand shop to find some goofy shirts to turn into gifts for your gal (or guy) pals (that is, if you don’t have any that you want to spare.)

For making a tote, I recommend that you use a shirt on the small/medium side. I suppose you can use a large shirt - you would have to make some measuring adjustments and cut off extra fabric (which may become garbage if you can’t figure out what to do with it.)

So anywho, I’m using an unsellable band tee that is a size youth medium.


I guess it makes me a freak that I can fit in a kids’ shirt, huh? I am making this tee tote into a 14”x14” square. You don’t have to make it this size, do what works best for what you’re using - I just suggest you make it even.

Supplies:

T-shirt (recommended sizes: women’s small/medium - unisex small - youth sizes)
rotary knife or scissors
workspace (plenty would be handy)
ruler
straight pins
matching thread (or contrasting thread - it’s your tote!)
Sewing machine or sewing needles
chalk or fabric pen (disappearing/mark be gone)
hands + eyes
the will to start and finish this project

Estimated amount of project time:

It took me 2 days, but that’s only because I only had time to do this between all of my classes. If I had a free day, I’d say this project only takes 1 hour - 2 hours max. (depending on your skill with sewing.)

Heads up:

Assuming the shirt you decide to use might have some stretch. Test it out before you do all the slicin’ and dicin’. If it has bit of a stretch or a lot, just keep that in mind when you sew by machine or hand. Do not pull hard - it will make the tote out of shape. Please take your time.

Step uno: measuring and marking

Lay your tee flat with the design side up/right side up. Get out your handy dandy ruler and marking materials. Since the t-shirt I’m using is black, (I am lacking in the chalk department and my marking pen is blue/purple, which is hard to see on black) so I am using straight pins to mark where I’m going to cut. To start measuring, I put my ruler at the bottom of the shirt collar, measure down to 14.75” - 1/4" seam for bottom of tote and 1/2" seam for top of tote, and mark/pin.
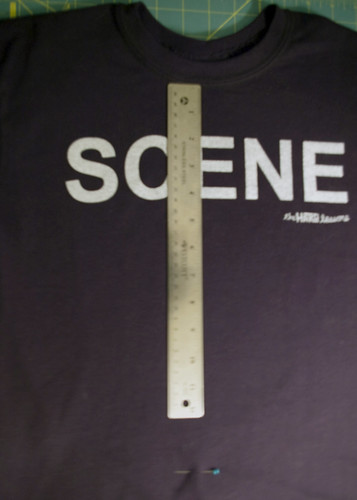


Now centering the design I measured the width of my design, which is 10”, and centered it on the ruler. I mark 2.25” to the left and the right of the design - which will make it 14.5” wide


You can make your measurements larger than what I am using, just use what works for you, but remember that you have to cut off the sleeves, and you should have some left over fabric to be used to make the straps.
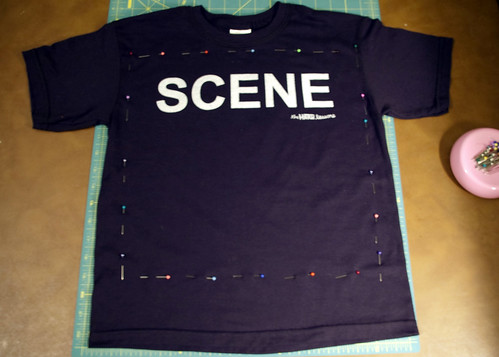


Step duex: cutting the shirt to size

Using your rotary knife or scissors, cut off the sleeves and the extra material at the bottom of the tee. Remember, we are going to use the extra fabric. You can use the sleeves to make pockets for the tote, a coin purse, or you can just toss them. Before you cut the fabric, it might be a good idea to throw in a couple pins to secure the fabric from moving around as you slice and dice it.
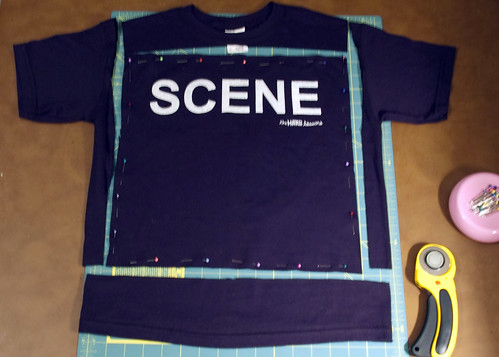


Step tree: preparing the tote straps

Remember that extra fabric that you cut off from the bottom of the tee? Now we’re going to use it. Yay! So, we want to make two straps correct? Si! Measure and mark/pin the fabric so then you can get two even straps. I had 2.5” of useable fabric, so I made my straps 1.25” wide. I like to double it to give the straps some extra strength.
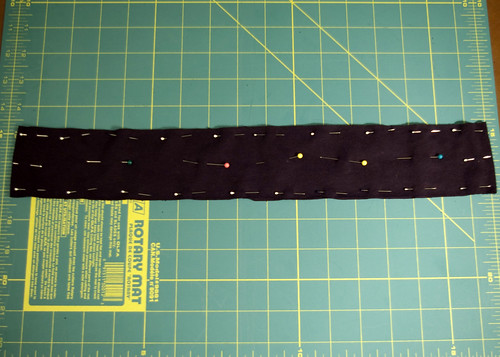


Now it’s time to sew the straps! Simply sew the sides. I put the right sides together, sewed the sides, cut open one of the short ends, and then flipped it inside out. I don’t like to have the stitches showing, plus this might prevent some unraveling if some no-goodery were to take place and make your straps fall apart. Now you don’t have to flip your straps inside out, it makes the straps wider, but it may make them stretchier - depending on your shirt.

Step 4: tote construction

T-t-t-time to sew the tote together! Unpin the shirt and flip the pieces so then it is wrong sides out.
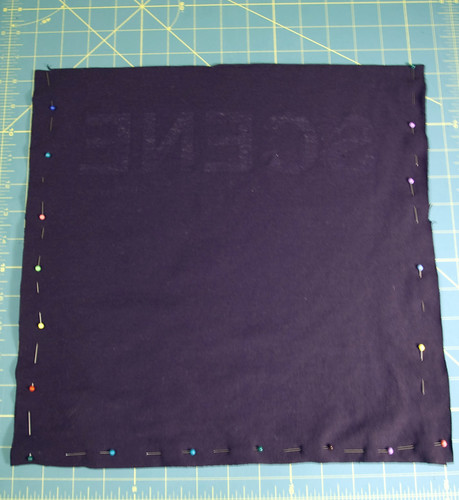


Time for sewing up the 1/4” seams! I did a running stitch, but you can do a zig zag stitch instead for security (if your tee is really stretchy). Now snip the bottom corners to insure that they will not look wonky when flipped right side out.
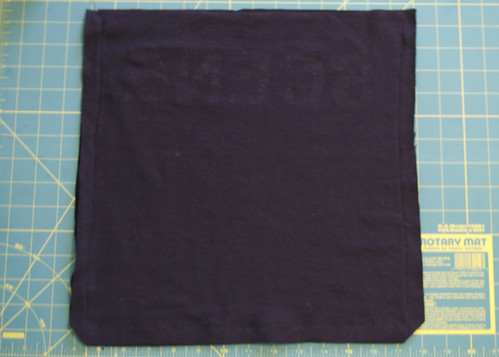


Now it’s time to make the top of the tote to look a little nicer. Fold the fabric about 1/2” down and pin it across on both sides of the tote.
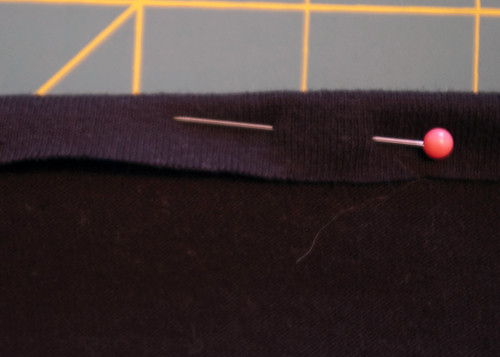


Seams like a good idea to sew the straps on now (seams, get it?!) Anywho, I want to hide the end of the straps on my tote, so I am going to pin them on the wrong side. But before you pin your straps, draw a rectangle (about 1.5” tall) and an ‘x’ inside it with your chalk or fabric pen guy thing. This is how we’re going to sew on the strap to the bag. Since the tote I made is black, I have to wing it/guess. It’s black on black, so I tried highlighting it a bit to show you what I mean by ‘x’ in a rectangle.
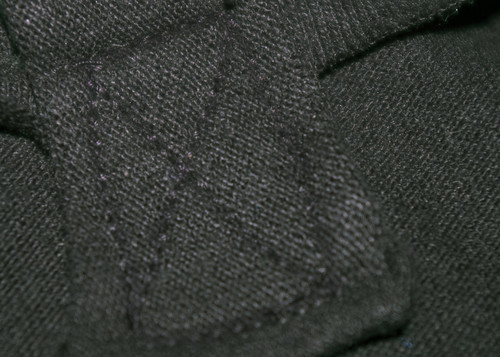


So, I am pinning the straps 3” from the sides of the totes. I like a good amount of strap to sit on my shoulder and not have them slide off, but feel free to do different. You can make them long or short straps. Also, you want the end of the strap to be 1” or 1.5” below the top of the bag.

Now sew! Sew like you’ve never before!

Once you have it done, flip your tote inside out! Ta daaaa! You have just upcycled a t-shirt into a cute and handy tote bag! Use it as a purse, for school,as a lunch bag, travel bag, or grocery bag!


I hope you enjoyed this tutorial! Please share with me if you've made an upcycled tee totebag or if you know how to make other things out of t-shirts!

<3 J.Loo